
At its core, a 3D scanner’s job is to turn the surface of a real object into a digital 3D point cloud, which can then be converted into an editable 3D model. To do this, several key technical modules inside the scanner work together: the light source, the sensing system, the processing electronics, and the software algorithms.
1. Light source and projection system
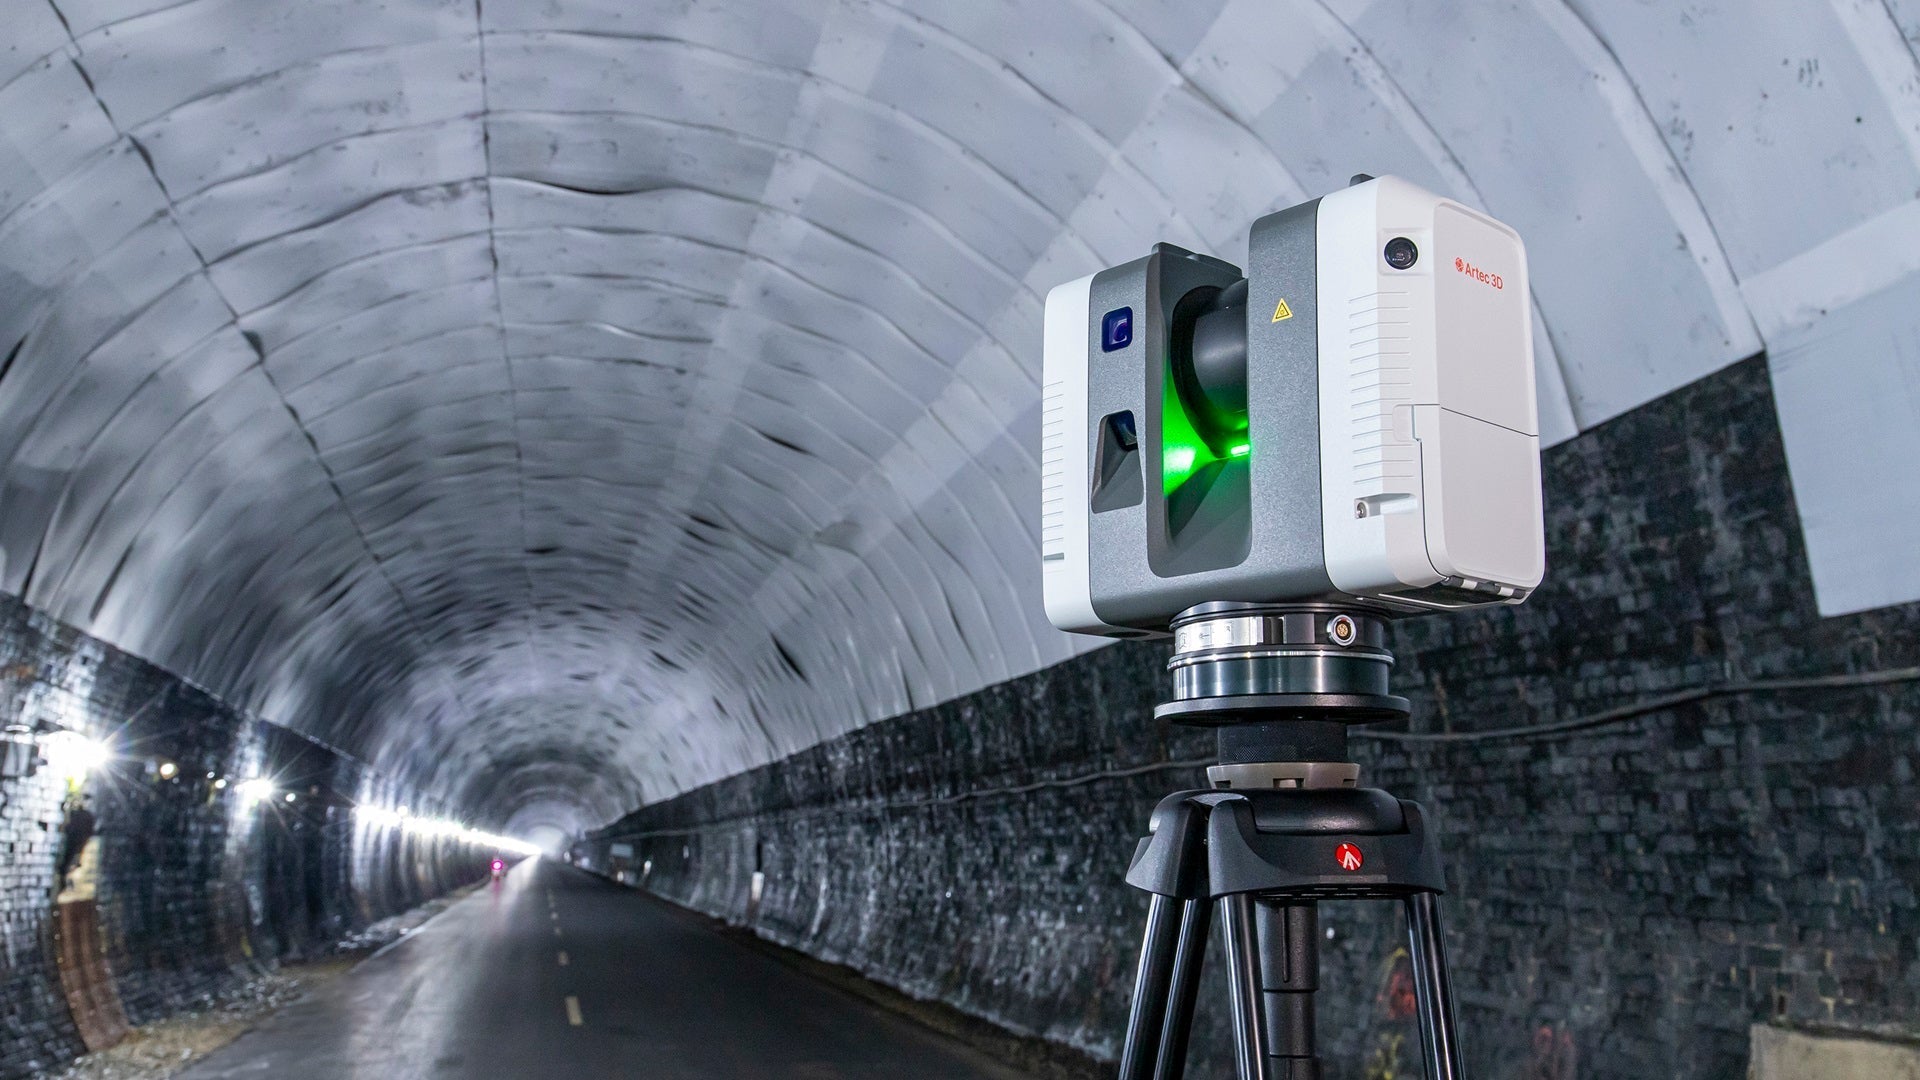
Most 3D scanners are “active optical” systems that measure the object using their own projected light.
-
Laser
Handheld and industrial laser scanners commonly use laser lines or laser grids swept across the object’s surface. A sensor (or camera) then captures the reflected laser spot or pattern and calculates depth information based on its position. -
Structured light (LED or blue light)
Some scanners use LEDs or a blue‑light projector to cast a series of precise stripes or grid patterns onto the surface. The object’s shape distorts these patterns, and the scanner’s cameras observe the deformation from two viewpoints to solve for 3D coordinates. -
VCSEL / blue‑light technology
Higher‑end scanners may use VCSEL (vertical‑cavity surface‑emitting laser) or blue‑light sources. These maintain high resolution and low noise over a range of working distances and perform better on shiny or dark surfaces.
For users, the trade‑offs between light sources are:
-
Laser: suits long‑range or dynamic scanning but can struggle with very reflective or transparent surfaces.
-
Structured light: excellent precision at short range for detailed, static objects, but more sensitive to ambient light and fast motion.
2. Sensing and imaging modules (cameras / depth sensors)
If the light source is the “lamp” in the scanner’s eye, the sensors are the “eye” itself.
-
Stereo cameras
Many structured‑light and laser scanners use a pair of cameras, forming a known triangle geometry. When light hits the object, the cameras see the spot or pattern shift from different angles and use triangulation to compute each 3D point (X, Y, Z). -
Time‑of‑Flight (ToF) sensors
Some scanners instead measure the time it takes light to travel to the object and back, then calculate distance. This suits larger‑scale or long‑range scanning but usually at lower resolution than triangulation. -
High‑speed depth sensing
Advanced scanners combine multiple sensors and can capture hundreds of thousands—even millions—of points per second, forming a dense point cloud that preserves fine detail.
How these sensors are combined determines the scanner’s:
-
Resolution (minimum distance between points, e.g., 0.1 mm).
-
Measuring range (minimum and maximum working distance).
-
Robustness (how well it handles light, vibration, or reflective surfaces).
3. Mechanical structure and tracking
The scanner must know its own position and orientation in space in order to stitch together a complete 3D model.
-
Tracking for handheld scanners
Handheld scanners often integrate an IMU (inertial measurement unit) and surface‑feature tracking. They use small internal sensors plus texture/edges on the object to estimate relative motion in real time as you move the scanner around. -
Fixed‑position or robotic‑arm scanners
Industrial scanners may mount to a robotic arm or a CMM (coordinate‑measuring machine), where the mechanical system precisely controls the scanner head’s position. Every move is known in coordinates, so repeat accuracy is very high. -
External tracking systems (e.g., laser trackers)
For very large objects such as aircraft or car bodies, external laser trackers and multiple cameras continuously monitor the scanner’s six degrees of freedom (X, Y, Z + three rotations), so multiple scan segments can be stitched together with high accuracy.
If your scans suddenly “break apart” or fail to align, the cause is often that the tracking has drifted, you moved too fast, or the surface lacks enough texture for the system to lock onto.
4. Point clouds and data processing
The scanner’s raw output is not an STL or OBJ file; it is a cloud of 3D coordinates—a point cloud.
-
Generating the point cloud
Each point represents a 3D coordinate (X, Y, Z) on the object’s surface, sometimes with additional color or intensity data. Rapid sampling turns these into a dense mesh‑like dataset in real time. -
Noise removal and defect repair
In practice, scanners encounter reflections, holes, and blurred edges, so software algorithms are used to:-
Remove outlier points (noise).
-
Fill holes.
-
Smooth the surface and remesh the data into a usable triangle mesh.
-
This step decides how “clean” the final scan looks: a good scanner plus strong software can give you a model that is almost ready for printing or inspection rather than a noisy, messy cloud.
5. Control electronics and real‑time processing
A 3D scanner is more than just a camera plus a light source; it needs an embedded “brain” to process signals on the fly.
-
Real‑time processing and chips
Mid‑to‑high‑end scanners include internal processors (sometimes with 32 GB RAM and hundreds of GB of storage). During scanning they can:-
Decode optical signals (e.g., phase‑shift patterns or fringe analysis).
-
Compute 3D coordinates (triangulation or ToF).
-
Compress and transmit data to a host computer.
-
-
Interfaces and connectivity
Some scanners stream data over USB or Wi‑Fi to a laptop, relying on external software for post‑processing, while others embed the full computer inside the scanner head (stand‑alone laser heads). This is useful in industrial environments where you don’t want to depend on a big PC.
For users, this mainly affects whether the scan feels smooth and responsive, whether you can see the model in real time, and how powerful your connected computer needs to be.
6. Software layer: from scan to editable model
The “technical” side of a scanner also includes the software that controls it and turns raw data into a usable model.
-
Scan control interface
The software lets you adjust speed, resolution, light intensity, and whether color or texture capture is enabled. -
Scan registration and alignment
Large or complex objects typically require multiple scan angles. The software uses surface features, edges, or color/texture to automatically align and merge these partial scans into one complete model. -
Converting to a 3D model
The point cloud or mesh is exported as STL, OBJ, PLY, or similar formats, ready for 3D printing, reverse engineering, or CAD inspection.
For 3D printing users, this is the bridge between “finished scan” and “ready to print”: if the scanner’s software can already output a clean, watertight mesh, your workflow becomes much smoother.
Key takeaways for beginners
If you want to choose a scanner or understand the technical side of the one you already own, you can think about it along these axes:
-
Light source type: laser, structured light, blue light, VCSEL—which affects precision, speed, and material compatibility.
-
Sensing method: triangulation, ToF, stereo vision—which defines working distance and resolution.
-
Mechanical and tracking design: handheld, fixed, robotic‑arm, or external tracking—which affects scan range and stability.
-
Processing power and software: onboard computer plus algorithms—which decide how clean and usable the final model is.

Leave a comment
This site is protected by hCaptcha and the hCaptcha Privacy Policy and Terms of Service apply.