If you already know how 3D scanners work technically, the next step is matching a scanner to your real‑world 3D printing needs. Different projects—miniatures, tools, cosplay props, or reverse‑engineered parts—demand different scanners, workflows, and budgets. This article shows how to choose the right scanner for common 3D printing situations.
1. Decide your main use case
Before looking at specs, ask: what kind of objects will you scan most often?
-
Small, detailed models and miniatures
High resolution, small field of view, and good texture/color capture matter. -
Hand‑sized parts and tools (nuts, brackets, enclosures)
Precision, moderate field of view, and fast scan time are more important than perfect color. -
Large objects (cosplay armor, helmets, furniture, car parts)
You need a large working range, tracking robustness, and the ability to merge multiple scans. -
Industrial‑style metrology (quality checks, inspection, reverse engineering)
Accuracy, repeatability, and compatibility with CAD/CAM software dominate over price.
Once you know your main use case, you can narrow down scanner types and price ranges.
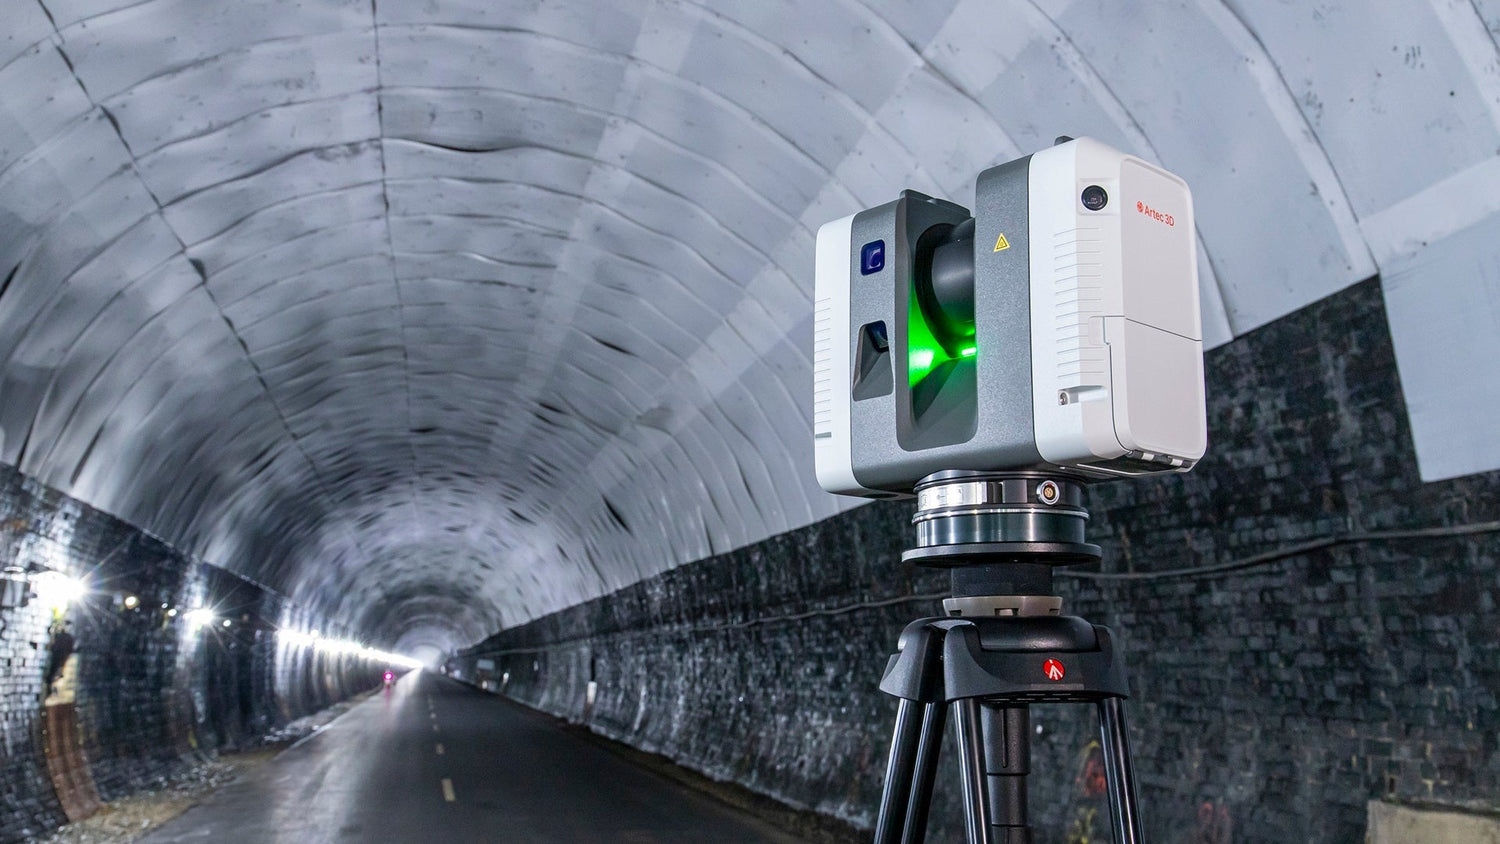
2. Handheld vs. stationary scanners
Handheld scanners
-
What they are
Compact, held in one hand; you walk around the object while the scanner moves in space. -
Pros
-
Very flexible for big or irregular objects.
-
Good for cosplay, car parts, or large sculptures.
-
Often have built‑in tracking and simple software.
-
-
Cons
-
More sensitive to shakiness and scanning speed.
-
Requires some practice to get smooth, seam‑free scans.
-
Accuracy is usually lower than high‑end stationary systems.
-
Best for:
-
Large cosplay pieces, helmets, car body panels, or objects that don’t fit on a turntable.
-
Users who want “scan and go” without complex setups.
Fixed / turntable scanners
-
What they are
A stationary sensor (often structure‑light or laser) that scans while the object slowly rotates on a table. -
Pros
-
Very stable; no need for you to move the scanner.
-
Good for small‑ to medium‑sized, static parts.
-
Often cheaper than high‑end handheld industrial scanners.
-
-
Cons
-
Only works for objects that can fit on the turntable.
-
Limited working area; you can’t easily scan large or attached objects.
-
Some models struggle with reflective or dark surfaces.
-
Best for:
-
Miniatures, figurines, small tools, or consumer products.
-
Users who want plug‑and‑play, repeatable scans of small parts.
3. Resolution and accuracy for 3D printing
For 3D printing, you rarely need “micron‑level” metrology accuracy unless you’re doing inspection or tooling. Instead, focus on two practical ideas:
-
Resolution (point spacing)
-
High resolution (≤ 0.1 mm) is useful for detailed miniatures, faces, or small mechanical parts.
-
Medium resolution (0.1–0.3 mm) is enough for most everyday printed parts: brackets, handles, enclosures.
-
-
Accuracy (how close to reality)
-
±0.1 mm is overkill for decorating, but nice for reverse‑engineered parts that must fit existing hardware.
-
±0.2–0.5 mm is usually acceptable for hobbyist 3D printing, as long as the mesh is clean.
-
Rule of thumb:
-
Detailed models & miniatures → choose high resolution.
-
Functional parts that must fit other hardware → choose higher accuracy and good software alignment.
-
Props, cosplay, or decorative pieces → medium resolution is fine.
4. Field of view and working distance
This directly affects what you can scan and how you move around the object.
-
Small field of view (short working distance)
Typical of desktop structure‑light scanners and some handhelds.-
Good for small parts, miniatures, or objects on a table.
-
You need to move the scanner very close; stitching multiple scans is easier but coverage is limited.
-
-
Large field of view (long working distance)
Typical of industrial handheld scanners and some laser scanners.-
Good for helmets, cars, furniture, or large sculptures.
-
You can stand back and scan bigger areas per pass.
-
When to choose what:
-
Miniatures, small parts, and tabletop scanning → small field of view.
-
Cosplay armor, car parts, or large objects → large field of view and handheld tracking.
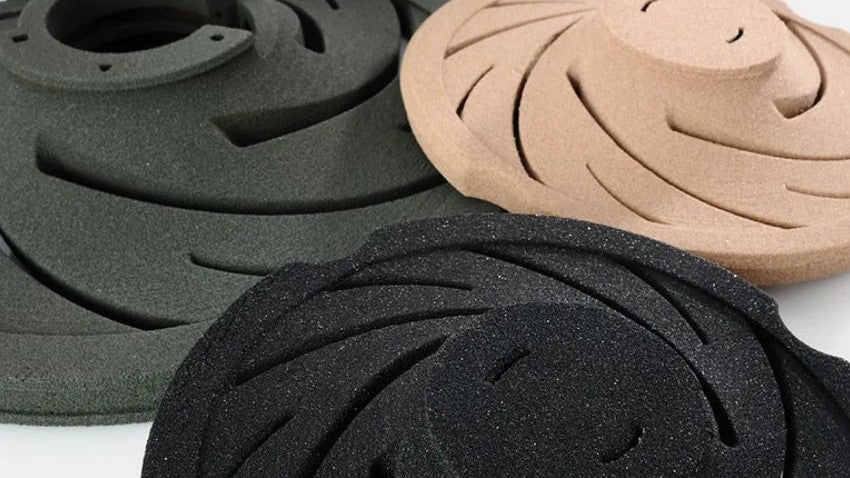
5. Handling surface and material challenges
Most 3D printing‑related objects are not perfect white matte surfaces. They come in many materials: glossy plastic, metal, black parts, glass, etc.
Here’s how to think about scanner behavior:
-
Dark or glossy surfaces
-
These absorb or reflect too much light, causing “holes” or noise in the scan.
-
Look for scanners tuned for dark/reflective surfaces, often with blue light, VCSEL, or automatic light‑exposure adjustment.
-
-
Transparent or semi‑transparent objects
-
Clear glass or thin plastic is usually very hard to scan.
-
Some scanners let you coat the surface with a light‑dust spray temporarily, but this is not ideal for finished parts.
-
-
Textured or matte surfaces
-
These are the easiest for most scanners.
-
If you can, choose objects that are slightly textured or matte rather than highly polished.
-
Practical tip:
If your main use case is scanning existing 3D‑printed parts (often black or glossy), give priority to scanners that advertise “good performance on dark and reflective surfaces.”
6. Scanner vs. camera‑based apps (phone / tablet)
Before spending money on a dedicated scanner, consider if a phone app is enough.
-
Camera‑based apps (e.g., Polycam, Trnio, etc.)
-
Use your phone’s camera and sometimes LiDAR to create a 3D mesh.
-
Very cheap or free, and easy to try.
-
Resolution and accuracy are limited, and they struggle with low‑texture surfaces (e.g., plain white walls).
-
Best uses:
-
Quick reference models, simple props, or rough mockups.
-
Non‑critical parts where you can manually fix geometry in mesh‑editing software.
When to avoid:
-
Parts that must fit existing hardware.
-
High‑precision mechanical designs or parts that will be printed multiple times.
7. Budget and workflow compatibility
Scanner price ranges vary dramatically:
-
Below HK$5,000–10,000
Often phone‑based or very basic desktop scanners. Good for hobby trials and decorations, but limited precision and material support. -
HK$10,000–20,000
Entry‑level handheld or desktop structure‑light scanners. Suitable for hobbyists doing both cosplay and small parts. -
HK$20,000–50,000+
Mid‑range industrial scanners with better accuracy, tracking, and software. Ideal for users who want to scan functional parts and integrate with CAD.
Ask yourself:
-
How often will you actually scan?
-
Does your scanner software export clean STL/OBJ meshes directly, or will you always need to repair in Meshmixer or Blender?
-
Do you already have a powerful computer, or do you need a scanner with strong on‑board processing?
8. Recommended scanner types by situation
Here’s a quick guide to match scanners to typical 3D printing scenarios:

Leave a comment
This site is protected by hCaptcha and the hCaptcha Privacy Policy and Terms of Service apply.